
Masking is an important skill to learn when editing photos. Not only does it provide a degree of transparency to the image, but it can also help expand the creative possibilities for your photographs. You can use masking tools such as the Lasso and Transparency masking to enhance your photo editing and create a new look.
Transparency Masking:
Transparent image masking is a non-destructive technique that allows you to isolate and target areas of your photo, especially those that are darker or brighter. It is often used to remove unwanted objects or backgrounds from photos. This method is also useful for editing old photographs.
There are many different types of image masking in Photoshop. The most popular is the layer mask. Masks are applied to any layer in Photoshop. Selecting the layer that you wish to work with is the first step. You can choose to make the layer completely black or white or you can select one of several other colors.
Layer masks are useful for removing unwanted parts of a picture. This helps in making your images look more professional. Image masking can be used for magazines, fliers and collages. It is also helpful for adding personal photos to a group of pictures.
When creating a transparency mask, the user can either paint a transparent layer or use a grayscale image. Grayscale tones will create a more subtle effect on the layer. But it will not affect the rest of the photo.
Transparent image masking is a great way to add a touch of elegance to product images. For example, you can use a translucent mask on a tinted window to prevent the sky from being white.
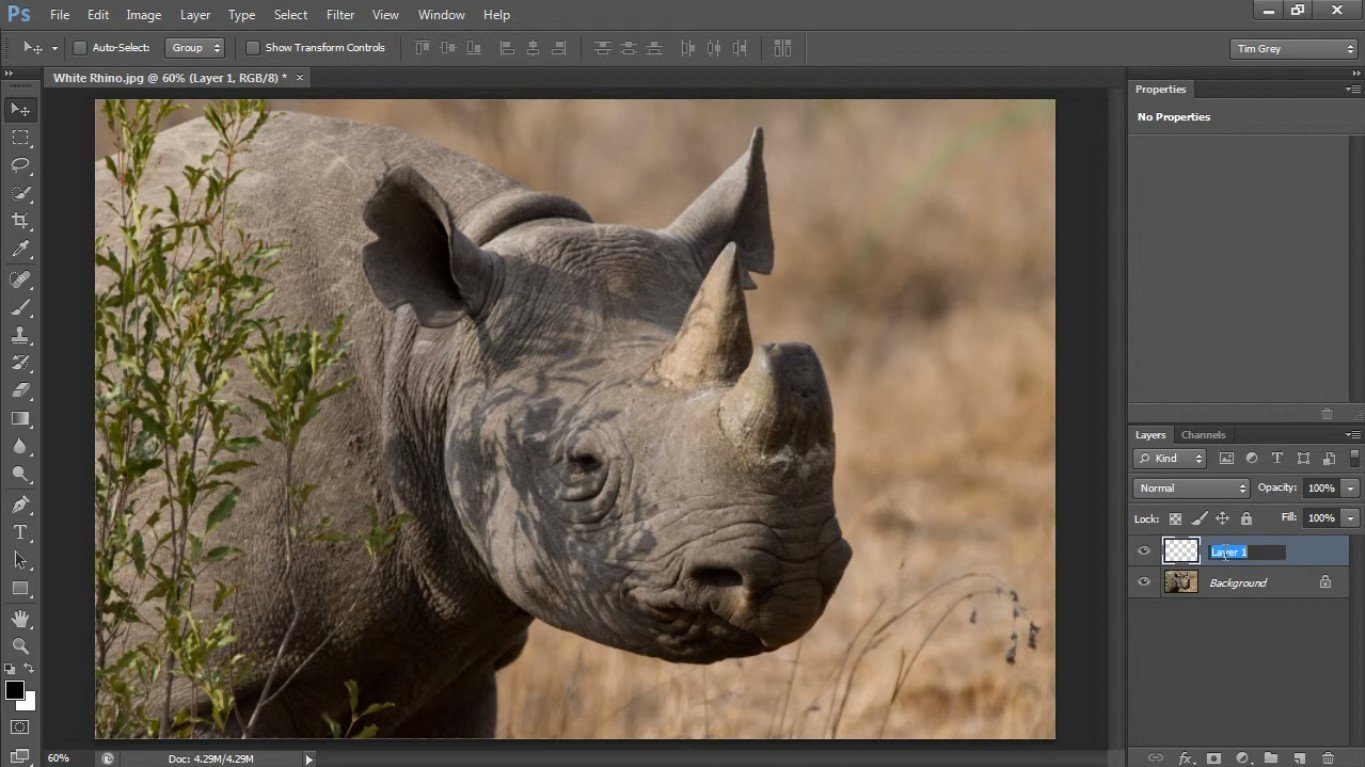
Transparent image masking is largely used for background removal and pixel manipulation. It is an effective method to use on photos, particularly ones that have furry animals on them.
Color Contamination During Photo Editing:
In photography, you need to be aware of the color schemes you use. One of the best ways to do this is by putting your camera into color correction mode. However, even the most well-intentioned filters can leave you with a dulled-looking image. Luckily, there are tools available to fix color spilling without compromising the integrity of the rest of the picture.
While a photo editing program like Photoshop may not be the best choice for this task, there are a few things you can do in the meantime to get your images to look their best. A good starting point is to take several photos of the same subject. This will help you determine what works best for you in terms of exposure, lighting, and color.
For instance, if you are a landscape photographer, you may have a lot of opportunities to play with colored walls in the background. Similarly, if you are a portrait photographer, you may be able to do the same with your model’s hair. There are also tricks you can do to enhance the definition of the object you are photographing. These include using a neutral density filter to balance the colors in your shot, and a small light modifier to enhance the brightness.
Besides the basics, you can experiment with the more advanced features of your favorite camera. A few tricks to try include taking a few shots at different shutter speeds, changing your camera’s aperture, and making sure your lenses are in good shape.
Bleeding:
The process of adding bleed to your images can be a simple and fast process if you know the right tool to use. However, it’s important to make sure that you are adding bleed to your photos in the right manner so that they can print properly.
First, you will need to decide whether or not you want your image to extend past the edge of the document. This is because when you print to the edge of the page, the design can be skewed and you may lose a part of the image. Also, if you don’t extend the image, you will have white space around the edges of your document.
If you are using a computer program, such as Photoshop, you can add bleed to your image. You can do this by extending the color or image outside the document’s edge by a quarter of an inch.
Depending on the size of your image, it may be a good idea to create a new document. For example, if you are going to be printing your image on a 9×11 sheet of paper, you should create a new document with a canvas that is 32.2 inches x 48.2 inches.
When you’re done creating a new document, you’ll have a document that’s sized for your final project. That’s important because you’ll have to use a larger piece of paper if you want your image to extend to the edge of the page.
Expansion of Creative Possibilities for your Photo Editing:
One of the gizmos of the modern age is the image-enhancing masking magic. These days, you’ll be hard-pressed to find a photo editing program that doesn’t use some form of this magical pixie dust. As a bonus, you get a much more polished and professional result. Of course, you’ll also have a much greater level of control over your images. You’ll be able to tweak a slew of nifty features like color, exposure, and contrast. This means you’ll be able to produce more cohesive, polished, and professional-looking results, all without having to retouch every last image.
The biggest challenge is selecting the best and most appropriate masking tools for the job. A quick search on Google will reveal several worthy contenders, many of which are free. You can try a professional editor to help for saving a lot of time & effort It’s also important to note that these programs can be used for both portrait and landscape photography, whereas the former is more suited to high-res imagery. The good news is that you’ll be able to find the perfect match for your next photographic endeavor. If you’re looking for a top-of-the-line tool, you can’t go wrong with Photoshop, a staple in the digital photo arsenal.
Although a bit more costly to acquire than the aforementioned tacks, you’ll be rewarded with a more streamlined digital photography experience, all the while getting the most bang for your buck. With a selection of over twenty nifty tools at your disposal, you’ll be on your way to more professional-looking photos in no time.
Lasso tool:
The Lasso tool for image masking in Photoshop is used to isolate parts of an image. It can also be used to build layer masks, trace around an object, and add to an existing selection. With this tool, you can easily build a quick and efficient selection.
This tool can be accessed by pressing the L key on the keyboard or by opening it by clicking the tool icon in the toolbar. Once open, you can draw paths that follow the cursor as it moves.
If you want to create a softer edge, you can use the Feather setting. A higher Feather means a softer selection edge. You can also choose from two options: 20px and 30px.
While the Lasso tool can be very useful for random selections, it is not very accurate. In addition, the edges may be rougher than you would like. Using anti-aliasing, however, will help smooth out the rough edges.
The Magnetic Lasso tool is another option for image masking. It uses a CC algorithm to detect changes in color and value. As a result, it can be a little more difficult to use than the Polygonal or Marquee tools. But it does have some useful features, especially if you want to isolate areas of an image with minimal color or exposure variance.
Unlike the other two tools, the Lasso Tool lets you move the pointer around an object. For example, you can add a cloud to a sunset or change the color of a seashell.
Photoshop Technique:
Image masking in Photoshop is a powerful tool that helps improve your images. It allows you to hide annoying and unusable portions of an image and creates a cohesive look. This can be used for everything from billboards to magazine covers.
One of the most basic masking techniques in Photoshop is the brush tool. The brush tool is located on the top left. You can use a small, fine brush for fast work or increase the brush size to get more detailed results.
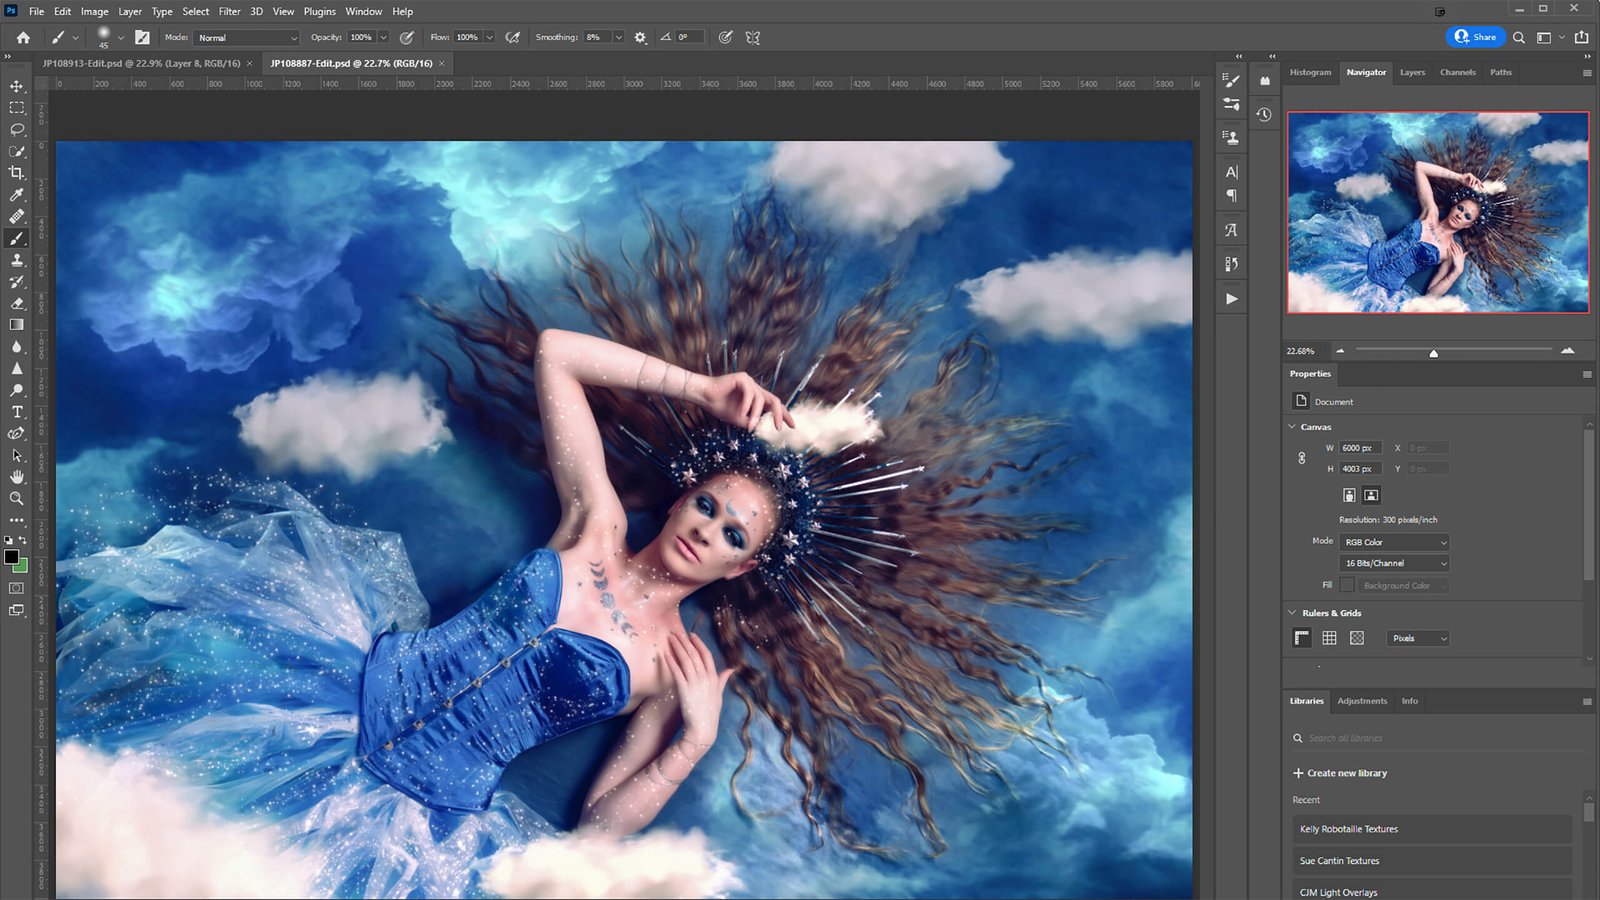
Another useful technique in Photoshop is using alpha channels. This process is a great way to isolate subjects and create translucent fabrics. In addition to alpha channel masking, you can use a clipping mask. A clipping mask is a useful image-masking tool because it confines the visibility of a layer to a defined area.
Photoshop also offers a multitude of other masking tools. Some of these include the Lasso Tool, the Select and Mask tool, the brush tool, and more.
Photoshop also makes use of vector masks, a technology often found in graphics software. These are resolution-independent paths that allow you to make sophisticated masking adjustments. Unlike regular layers, they can be in different dimensions and even in reverse!
However, these techniques are not always intuitive. If you don’t know what you’re doing, you may end up with an image that isn’t very useful.